
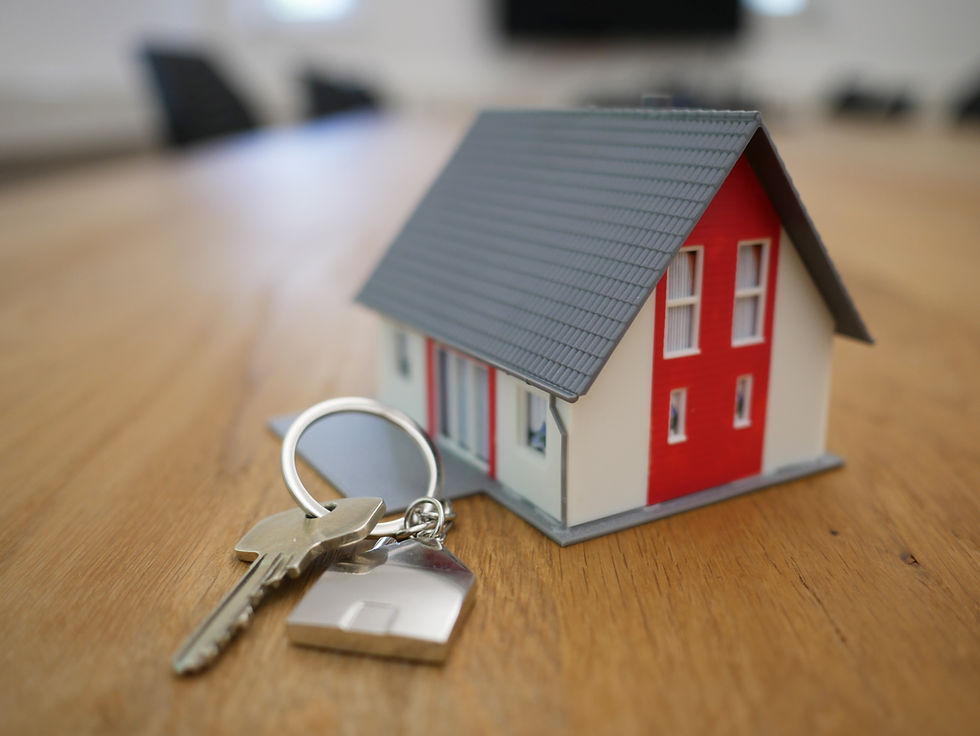
How to Prep a Home for Real Estate Photography: A Room-by-Room Guide
- fotovisionllc
- Apr 21, 2025
- 4 min read
When it comes to real estate photography, a great camera and a skilled photographer are only part of the equation. The condition and presentation of the property play a massive role in how the final images turn out — and ultimately, how well the listing performs online.
Whether you’re a seasoned real estate agent or a first-time seller, prepping a home properly before the shoot can make the difference between decent listing photos and truly standout visuals.
This guide breaks down everything you need to know to get a home photo-ready — room by room — so your next listing makes a strong and lasting impression.
📍Why Home Prep Matters
Let’s face it — buyers judge fast. With most listings being viewed online first, you only have a few seconds to catch someone’s eye before they scroll on to the next property.
Professional photography elevates listings, but cluttered counters, unmade beds, and tangled cords can still distract from the true appeal of a space.
Prepping a home ensures:
Clean, distraction-free images
A smoother, faster photo session
Better representation of the home’s space, flow, and condition
A more inviting visual story for buyers
And the best part? Most of it costs nothing — just a little time, attention, and effort.
🏡 General Prep Checklist (Before the Photographer Arrives)
Regardless of the room, there are a few universal tips that apply to every part of the house:
✅ Open all blinds and curtains — natural light is your best friend
✅ Replace any burnt-out lightbulbs with matching tones (warm or cool)
✅ Remove personal items like family photos, notes, calendars
✅ Clear surfaces — less is always more in photos
✅ Hide cords, chargers, and exposed wires
✅ Clean mirrors and windows for glare-free reflections
✅ Put away pet bowls, toys, crates, or litter boxes
✅ Turn off ceiling fans and TVs
Think of the space like a model home — neutral, clean, and inviting.
🛋️ Living Room
The living room is often one of the main “hero” shots on a listing, so it needs to be polished and spacious.
To-do:
Fluff pillows and fold throw blankets neatly
Remove excess décor from coffee tables and end tables
Organize bookshelves and remove personal knick-knacks
Hide game consoles, remotes, wires, and extra electronics
If the space is small, consider removing extra chairs to open up the layout
A good photographer will capture the flow of the space — prepping ensures nothing gets in the way of that.
🍽️ Kitchen & Dining Area
The kitchen is another high-impact room. People often imagine themselves cooking and entertaining, so clean, open counters are essential.
To-do:
Clear all counters except 1–2 tasteful items (like a plant or bowl of lemons)
Remove drying racks, soap bottles, paper towels, and fridge magnets
Wipe all surfaces, stainless steel appliances, and backsplashes
Push in barstools and chairs evenly
Set the dining table simply — optional but can look great if styled subtly
We’ve found that homes with minimal kitchen clutter tend to feel bigger and more high-end in photos.
🛏️ Bedrooms
Bedrooms should look calm, tidy, and serene. The goal is to make them feel like a quiet retreat.
To-do:
Make all beds tightly, hotel-style if possible
Remove personal items from nightstands and dressers
Tuck away clothing, laundry baskets, and shoes
Straighten wall art and ensure lamps are functional
For kids’ rooms: minimize toys and bright-colored clutter
A few decorative pillows and a neutral throw can elevate the space without overdoing it.
🛁 Bathrooms
Bathrooms photograph best when they’re immaculate and uncluttered. Reflections are tricky here, so keeping surfaces clean helps avoid editing challenges later.
To-do:
Close toilet lids
Remove all toiletries, toothbrushes, razors, etc.
Fold fresh towels neatly or remove them altogether
Wipe mirrors, counters, sinks, and shower glass
Remove floor mats unless they’re brand new and visually clean
A simple hand soap and a plant or candle can be left for staging — everything else should be tucked away.
🚪 Entryways, Hallways & Staircases
These transitional spaces might seem minor, but they add context and flow to your listing.
To-do:
Remove shoes, coats, bags, and keys
Clear console tables or shelves of clutter
Ensure light fixtures are working and clean
If there's a staircase, sweep and straighten any runners
Good entryway photos can set the tone for the rest of the gallery — especially for townhomes or condos.
🧺 Laundry Room
It’s easy to overlook this space, but buyers want to see it.
To-do:
Clear all detergent bottles and laundry piles
Wipe down washer/dryer surfaces
Close appliance doors
Add a simple basket or plant if the space feels too empty
Clean and simple goes a long way here.
🌇 Outdoor Spaces
Don’t forget the exterior — it’s often the first photo shown in listings. A little effort outside goes a long way.
To-do:
Mow the lawn, trim bushes, and sweep walkways
Remove garden tools, hoses, and toys
Clean windows and wipe down outdoor furniture
If you have a pool, skim it and store pool gear
For twilight or drone shots, ensure all exterior lights work
If the property has a balcony, patio, or deck — stage it lightly with furniture or potted plants to show livability.
🧠 A Few Final Notes
Timing matters: If you're planning a shoot, aim for a clean home at least an hour before the photographer arrives. Rushing at the last minute can delay the shoot and lead to missed shots.
Weather impacts lighting: Overcast days are actually great for exterior shots, while sunny days help interiors pop. If you’re booking with FotoVision, we factor weather into scheduling whenever possible to get the best natural light.
Don’t stress perfection: You don’t need to renovate — just declutter, clean, and create an inviting feel. Buyers aren't expecting a showroom, but they do want to envision themselves in the space.
📸 Wrapping Up
Real estate photography is about more than just taking pretty pictures — it's about telling a story. And the clearer, cleaner, and more welcoming that story is, the more impact your listing will have.
A well-prepped home not only makes your photographer’s job easier — it maximizes the visual quality of the images, shortens time on market, and helps buyers make faster, more confident decisions.
At FotoVision, we love partnering with agents and sellers who take preparation seriously — because we know that’s when the best results happen.
Looking for a printable prep checklist to share with clients or homeowners? We’d be happy to send one your way. Click Here and ask about it.


Comments